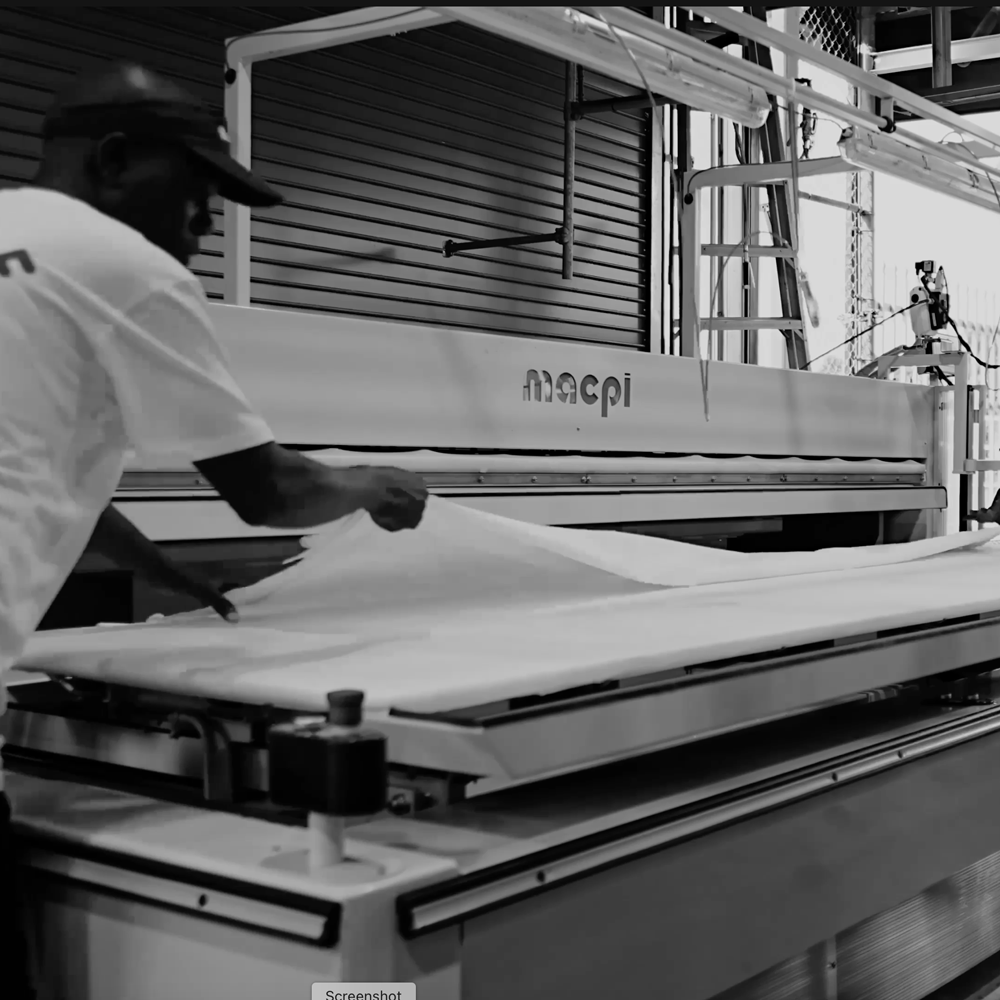
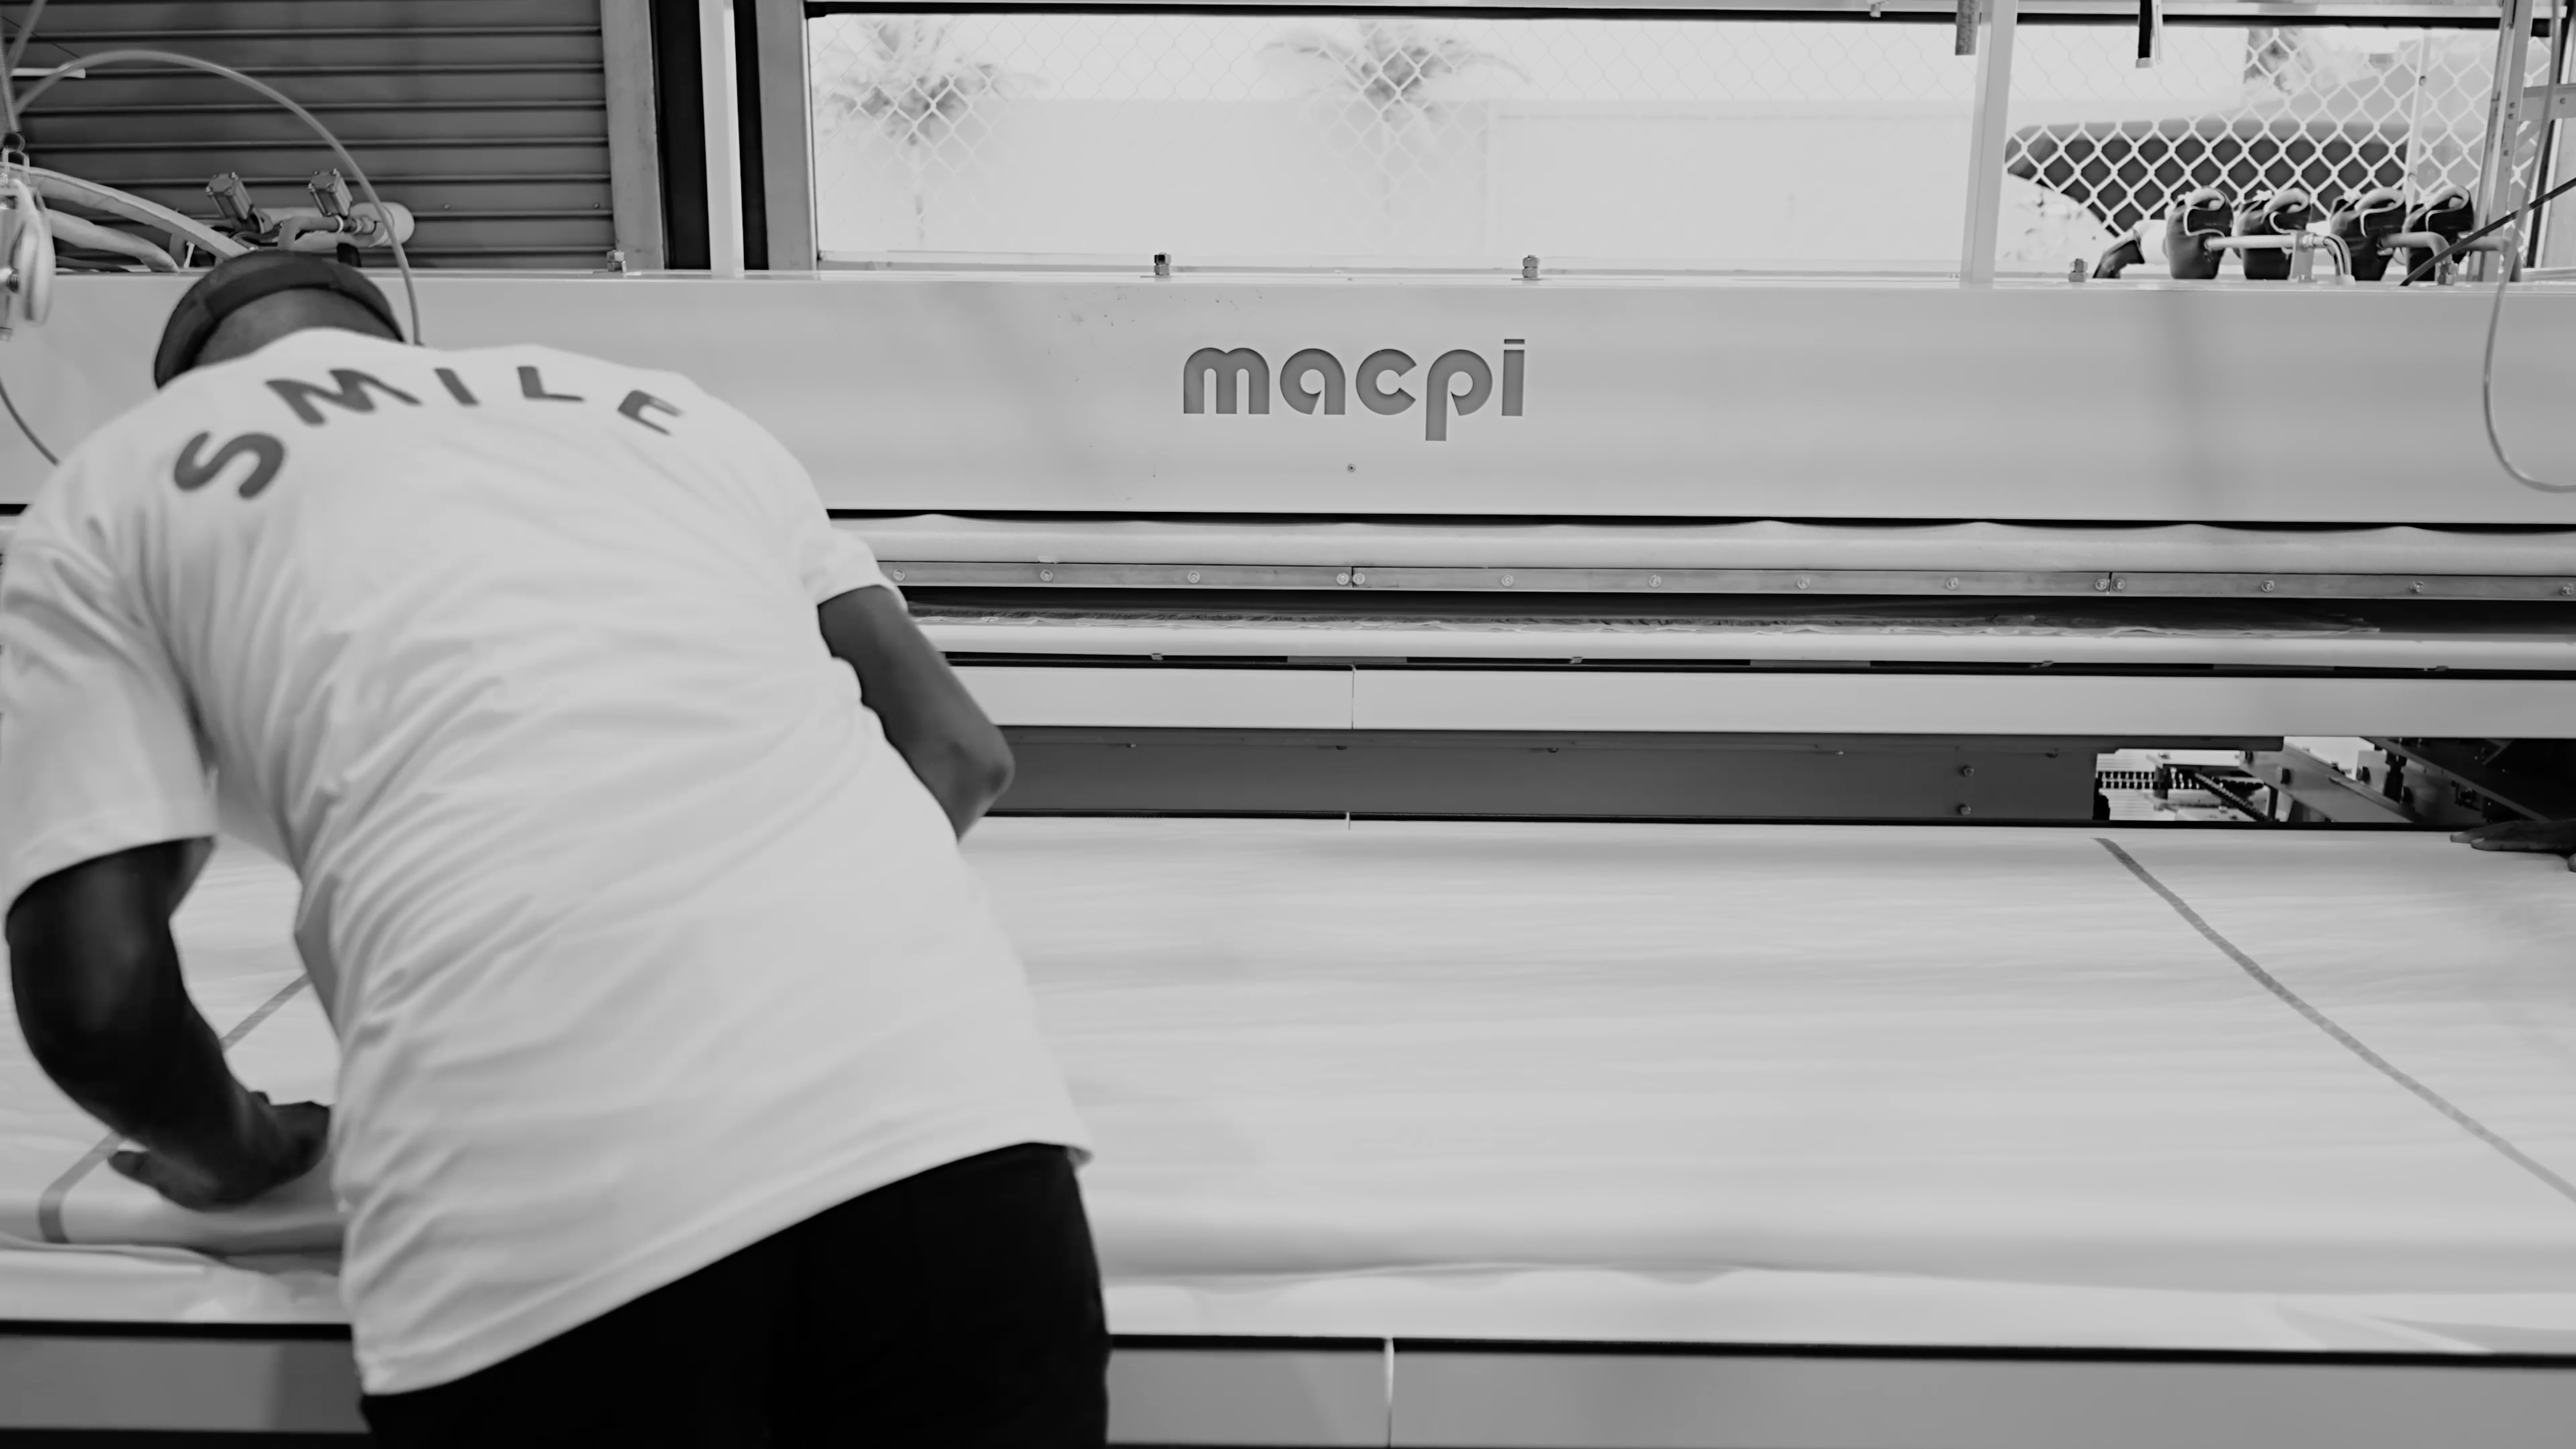
When it comes to maintaining your clothing and fabrics, knowing how to clean and replace Dy Patches can be a game-changer. Not only does it save you money, but it also allows you to extend the life of your favourite garments. In this guide, we’ll explore the art of cleaning and replacing Dy Patches, providing you with step-by-step instructions and tips to help you master this technique.
Challenges of Cleaning Dy Patches
Cleaning Dy Patches can be a tricky task, presenting several challenges that you need to be aware of. Here are some of the main challenges you may face when cleaning Dy Patches:
1. Delicate Fabric
Some fabrics are delicate and may not withstand the heat required to melt and blend Dy Patches. It’s important to test a small, inconspicuous area of the fabric before attempting to clean Dy Patches to avoid damage.
2. Precision Required
Cleaning Dy Patches requires precision and attention to detail. Shaving off pieces and melting them into the fabric can be a delicate process, and any mistakes can be difficult to rectify.
3. Colour Matching
Matching the colour of the melted Dy Patches to the fabric can be challenging, especially if the fabric has a unique or complex colour pattern. Achieving a seamless blend may require some trial and error.
4. Time-Consuming
Cleaning and replacing Dy Patches is a time-consuming task that requires patience and dedication. Rushing the process can lead to unsatisfactory results, so it’s essential to set aside enough time to complete the task.
5. Equipment and Technique
Using the right equipment and mastering the technique of melting and blending Dy Patches is crucial for achieving professional-looking results. It may take some practice to perfect the process.
Replacing Dy Patches
When it comes to replacing Dy Patches, there are a few key steps and considerations to keep in mind to ensure a seamless and professional result. Here’s a guide to help you navigate the process:
1. Assess the Damage
Before you begin the process of replacing Dy Patches, carefully assess the extent of the damage to the fabric. Determine the size of the area that needs to be covered and the condition of the surrounding fabric.
2. Select the Right Patch
Choose a replacement patch that closely matches the colour and texture of the fabric you are working with. It’s important to ensure that the patch seamlessly blends in with the rest of the garment.
3. Prepare the Fabric
Prior to applying the replacement patch, make sure the fabric is clean and free from any debris or residue. This will ensure that the patch adheres properly and creates a smooth finish.
4. Apply the Patch
Carefully place the replacement patch over the damaged area, ensuring that it covers the entire affected area. Use a heated tool to melt and blend the patch into the fabric, creating a seamless and natural-looking repair.
5. Finishing Touches
Once the replacement patch is in place, take the time to refine and perfect the blend. Use additional heat and pressure to ensure that the patch is securely bonded to the fabric and that any edges are seamlessly integrated.
6. Test and Inspect
After completing the replacement process, carefully inspect the repaired area to ensure that the patch has been effectively blended and that it matches the surrounding fabric. Test the fabric for durability and flexibility to ensure a successful repair.
By following these steps and taking the time to carefully replace Dy Patches, you can achieve professional results that seamlessly restore the integrity of your garments.
Benefits of Melting and Blending
Melting and blending Dy Patches offer several benefits that make it a valuable technique for repairing and maintaining your clothing and fabrics. Here are some of the key advantages:
1. Seamless Repair
Melting and blending Dy Patches allows for a seamless repair that integrates the patch into the fabric, creating a natural and unnoticeable finish. This technique ensures that the repaired area maintains the original look and feel of the garment.
2. Durable Results
By melting and blending Dy Patches, you create a strong bond between the patch and the fabric, resulting in a durable and long-lasting repair. This ensures that the repaired area can withstand regular wear and laundering without compromising its integrity.
3. Colour Matching
Through melting and blending, you can achieve precise colour matching between the patch and the fabric, ensuring that the repair seamlessly blends in with the rest of the garment. This helps maintain the aesthetic appeal of the clothing.
4. Versatile Technique
Melting and blending Dy Patches is a versatile technique that can be applied to a wide range of fabrics, including delicate and complex materials. This flexibility makes it a valuable skill for repairing various types of garments and textiles.
5. Cost-Effective
By mastering the art of melting and blending Dy Patches, you can save money on professional repairs and extend the lifespan of your favourite clothing items. This cost-effective approach allows you to maintain and preserve your wardrobe with minimal investment.
Mastering the art of cleaning and replacing Dy Patches can truly transform the way you care for your clothing and fabrics. By overcoming the challenges and following the steps outlined in this guide, you can achieve seamless repairs that prolong the life of your favorite garments while saving money and reducing waste. Whether you’re dealing with delicate fabrics or intricate color patterns, the techniques discussed here empower you to maintain your wardrobe with confidence and expertise.
Ready to revitalize your wardrobe with expert care? Contact us now to learn more about our services and how we can help you with cleaning and replacing Dy Patches. Don’t wait, get in touch today!


